What I learnt building my website
Hello friend!
As you probably noticed, I launched this brand new website! 🙂
In this post I want to talk about how I chose my website platform and which things you need to take into account when creating your web.
I hope this can help all of you who are thinking about creating their own website! 💻
First of all, I want to say I have a background working in web applications but I am not a web expert at all, I will tell you my experience as a human being setting up a website for the 1st time in my life.
⚠️ But first a small warning: Setting up and building a website is time consuming, not only because you need to think about its structure and content, but because there are many invisible connected parts that need to be taken into account when you build one (we will discover them at the end of the post).
With that said, I don't want to discourage you from creating yours! but I want to let you know it will probably be more work than what you think.
Something that helped me enormously in the process of website creation was to take decisions that would make my first time creating a website, easier and faster (always inside my possibilities and budget).
I don't say this is the only way to do it but it is how I chose to do it.
Faster setup usually implies higher monetary investment and that's ok too! Please don't hesitate to hire a professional web designer to build it from scratch or to ask for support in your community. You don't need to be alone in this process.
Which platform do I use?
When you start to look at the different platforms you can use to build your website, you will see there are SO MANY OPTIONS… Some examples are:
And I don't know about you but I am quickly overwhelmed and get decision fatigue when I have so many options.
Moreover, if you try to make some research to check which one performs best, you will see lots of different reviews that will show you positive and negative points of each platform, and in my case that ended up making me more confused than providing clarity…
Luckily, there are some things you can do to check off from your list some of these options.
The first tip is to list your needs in terms of website functionality, in my case it looked like this:
Blog (Mandatory)
Art Portfolio (Mandatory)
Online classes (Optional)
Shop (Optional)
You will find that most of the website builders are ready for these functionalities, and even when they don't have them in their base package (for example, the shop), you can probably add some plugin or upgrade to a more expensive plan that will allow you have it. However it can add more complexity and price!
I didn't want complexity for now so that helped me out to cross off some options from the list: I removed from the list the ones that needed extra configuration to give me the functionality above.
The second tip I can give you to choose your website platform is to make a list of websites you really like.
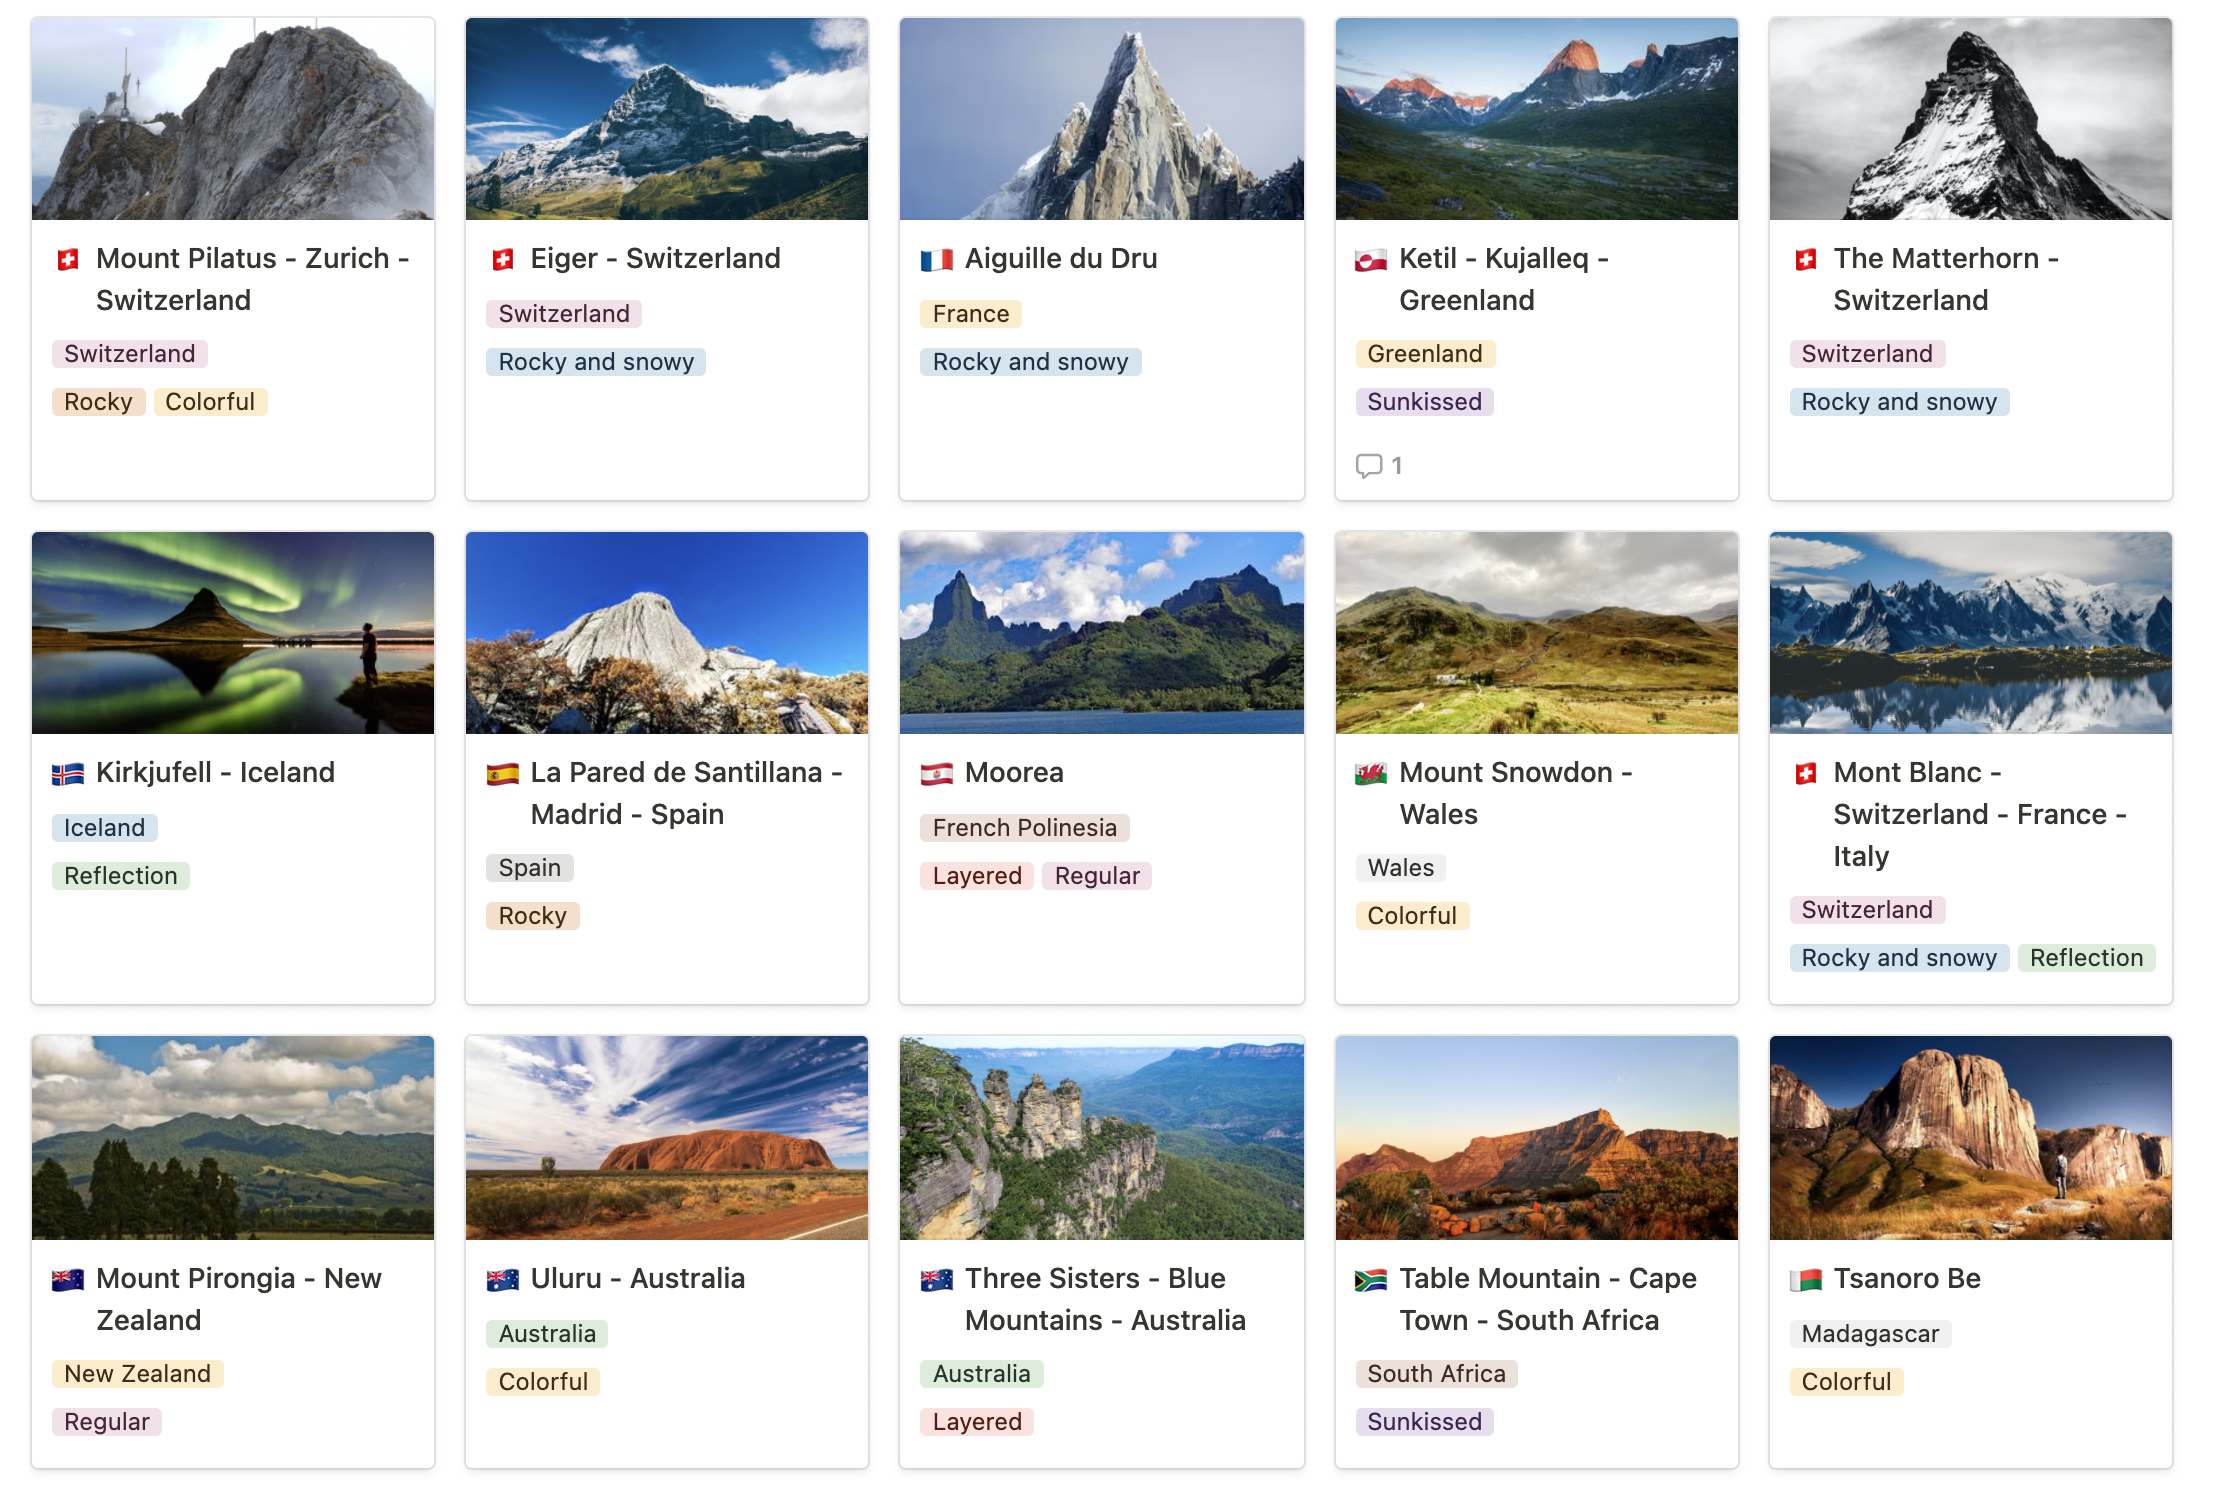
A few of mine are:
This allowed me to imagine the structure mine would have and also, investigate what they used to create such fantastic pages 😻
I realized that if I inspired from the platform my favorite websites used, I would be able to achieve the results I loved too!
To know which platform a website is using, it is enough to look a bit in detail:
Navigate to your favorite website.
Anywhere on the page, right click and choose Inspect. A new bar will open somewhere in your window.
Now type Cmd+F (macbook users) or Ctrl+F and look for one of the following keywords: squarespace, showit, elementor, etc. If you find one of those keywords, it is very likely they are using that related website platform
These steps might change from browser to browser but I tried with Firefox and Chrome and they should work fine!
There are many ways to choose a platform but this is what really helped me cross off the list most of the options, until I was left with only three of them: Squarespace, Wordpress and Showit.
I ended up choosing Squarespace, and I don't have specific facts that prove it is the best option to choose, but most of the pages I love use it, I tried the free 30 day trial and it felt right for what I wanted to do. And that would be the third tip I have for you:
If you have time and they give you the option, use the free trial versions of the smaller list of platforms for a few days to see how you like them. This should make the decision easier.
I am not signing a forever contract with Squarespace but for now I find it very intuitive and comfortable to use, it is very flexible and allows to add many more functionalities in the future but the most important thing is that it allowed me to go past the analysis paralysis phase and I am grateful for that.
With this project I wanted to focus on progress over perfection.
Structure and content
A website is basically a group of pages linked between each other.
For the structure and content there are some common parts to almost any website you visit. Take a look at the list of pages you love. These are:
Header: It is a bar at the top of your website. Here you will typically place your logo and your navigation links to the different pages of your website.
Footer: It is a bar at the bottom of your website. You can place here contact information, details about the company, social media posts or links. It can be also used for navigation when you are far from the header.
Homepage: This is the page where you showcase the pages you want the visitor to not miss.
About: This page usually tells who you are or what is your mission.
Contact: This page offers a way for people to contact you, either a form or email details.
I additionally have a page for my blog, another for my art collections and a last one for free resources. But this will depend on how you want to structure your website and what you want to include.
Before designing the structure of my website, I found very useful the YouTube videos from Charli Marie, especially the Designing and building my personal website playlist.
Other important topics to take into account when building a website:
Look and feel: This is your visual story, logo, color palettes, design elements, etc.
After some time trying to create my own logo and my signature color palette with Canva I realized I didn't know what I needed or how to tell my story through my branding, so I asked for help to Nanda from Sunflower Sunshine Studio. I loved working with her and how she managed to capture what I wanted, plus, she has also free guides, tips and resources to help you with branding.
Multimedia resources: Photos, videos, gifs and any multimedia resource you will use in your website pages.
I booked a couple of hours for a professional photo shoot in my studio and outdoors with Tanya Soares. It felt weird to be photographed while I painted and I didn't manage to paint anything special while she was pointing at me with her shiny and big camera lens but the result was so special and magical!
I plan to use many of the photos and videos I take when I go outside to paint or just to hike and enjoy nature, but I would recommend to have some professional taken photos from you and your art!
Behind the scenes of building a website
In this section I would like to briefly talk about the behind the scenes of building a website that I mentioned in the introduction. The invisible but connected parts that could be unknown at the beginning of this project. These are:
Domain: If you want to have your own website name, for example in my case: www.afrisartjourney.com, you will need to buy a domain.
There are many providers to buy from, I used EuroDNS. Some website platforms allow you to buy one with them, but the price can be higher.
To take into account: Buying a domain is relatively easy, but configuring it is a different story. This part was tricky for me, luckily I found many examples and guides online to know how to manage it. Remember that if you choose a platform that is widely used, you will probably find more resources and support online.
Email provider allowing email aliases: If you plan to have a newsletter or have some email addresses available for clients with your own domain name, for example: info@afrisartjourney.com, you will need an email provider allowing to setup your own domain aliases (for example the @afrisartjourney.com instead of @gmail.com). I am using Mailbox.org
To take into account: To set this up properly is to basically configure your domain properly so don't overlook at it!
Hosting: These are servers (computers) where you host your website so it is available 24/7 for users to visit it. Some platforms already include this service.
To take into account: In my case, Squarespace already takes care of this part so I don't need to do it but take into account that you will need more storage if you know you will upload a lot of multimedia such as videos for online classes.
And that's all for today's post! It is a long one but I hope you got some interesting and useful insights.
🤓 If you have any additional question don't hesitate to ask them in the comments below or write me a DM on instagram. I will do my best to reply them.
Have fun with your website building adventure!
Hello, I’m Afri!
I am a watercolor and gouache artist in love with nature and landscapes. My goal is to inspire you to unleash your creativity and to transmit you how painting outside could be good for your soul! :)
Search in the blog


A sketchbook it's just paper, glue and a cover.